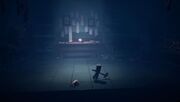
The Hospital is the third area Mono and Six pass through in Little Nightmares II.
Description
The Hospital is fairly larger than the School, and even expands to the underground. Like many other places in the Pale City, the Hospital looks ruined and abandoned. There is no light source in most rooms, apart from rare lamps and external light sources that hardly manage to illuminate small sections of rooms. The Patients, or their fragments, can be seen everywhere, which will chase after the troublemakers in order to get rid of them. There are cells used to contain them, but some of these patients are found in rather dark corridors, where they ambush living beings.
The Hospital also has a warehouse and a workshop where the Patients are 'modified'. It also has a nursery room with toys for unknown purposes. The lower part of the Hospital contains a morgue, where the Doctor operates on and 'takes care' of his patients.
Solution
Mono must journey through the Hospital with Six while avoiding the dangers within it.
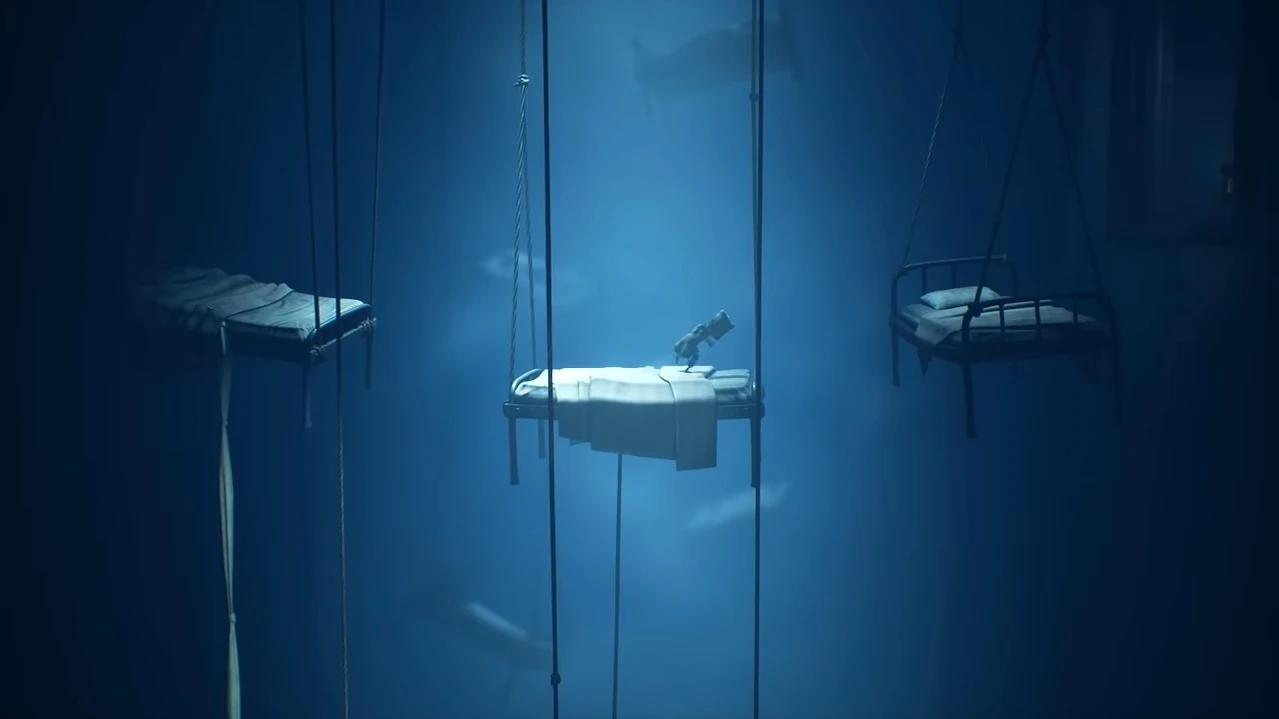
Mono and Six traversing through hanging beds
Once Mono and Six enter the Hospital, move to the right and you'll see a door. Push the door together and the player will arrive in an area with hanging beds. In this section, it is important to follow Six's movement. After arriving at a new area, grab the fuse and bring it to the right. Attach the fuse and go to the opened door. Mono and Six will arrive onto a falling elevator. Pull the vent together and enter it as the elevator falls. Move right and the player will enter a room.
The player will be introduced a new mechanic, the usage of a flashlight. Grab the flashlight and move to the right in the dark. After reaching a dead end, go forward into the corridor in the background and enter the room at the end. There will be a vending machine seen in the room. Interact with it and grab the can. Throw it to a button that will open the door. Later, a television will activate, so head to the television and tune the transmission for once again.
Mono will be in an ominous bendy corridor. Walk forward into the door at the end. While Mono will get closer, Mono still won't reach the door, being pulled out by Six.
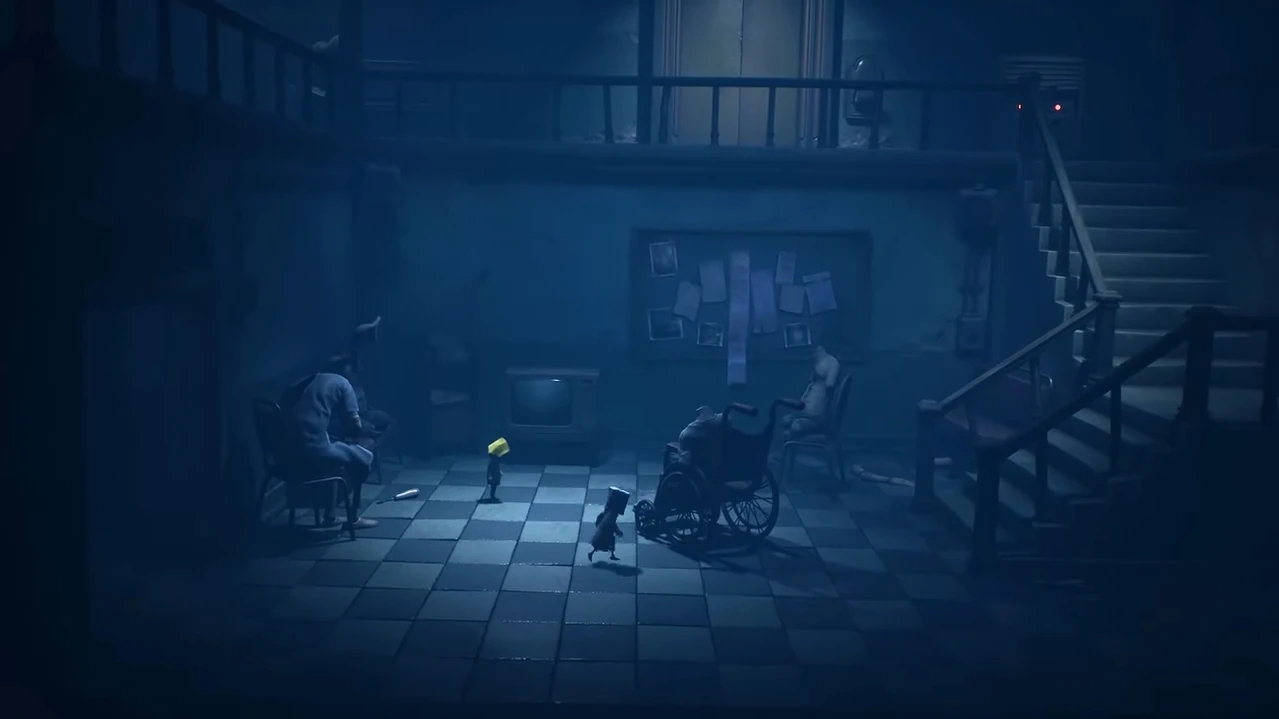
The Hospital's main hall.
It can be seen afterward that they are in the main hall of the Hospital. The main task in this section is to find two fuses that can be used to power the elevator. Move to the right and you'll enter a room with an x-ray machine. Keep moving forward to go into the nursery room and grab the teddy on the far right. Scan the teddy with the x-ray machine to make sure it's the correct teddy with a key inside it. Go to the elevator that will bring Mono and Six to the crematorium. Put in the said teddy and pull the lever to incinerate it. Grab the key inside and go back up to the main hall. Go to the second floor at the right and unlock the door. Walk pass the workshop and move forward in the corridor. Six will give you a boost, so jump up with her help.
Keep moving forward until you'll see a Patient strapped onto a table. Drag the box away that blocks the entrance to the next area. This will trigger a hand to jump out from the Patient's body. However, it won't mind Mono as it crawls away. After dragging the box, pass under through the shelf. You'll hear some crawling sounds in an open area, but you don't need to mind it. Climb onto the shelf and jump down onto the next area. At this point, the hand will start attacking you. Dodge the hand's pounces and climb up the shelf at the other side. You'll see some grates that can be climbed. Run quickly to the grates and climb up. However, the hand follows you aggressively. Go to the ventilation quickly and push the vent to jump down to the next area.
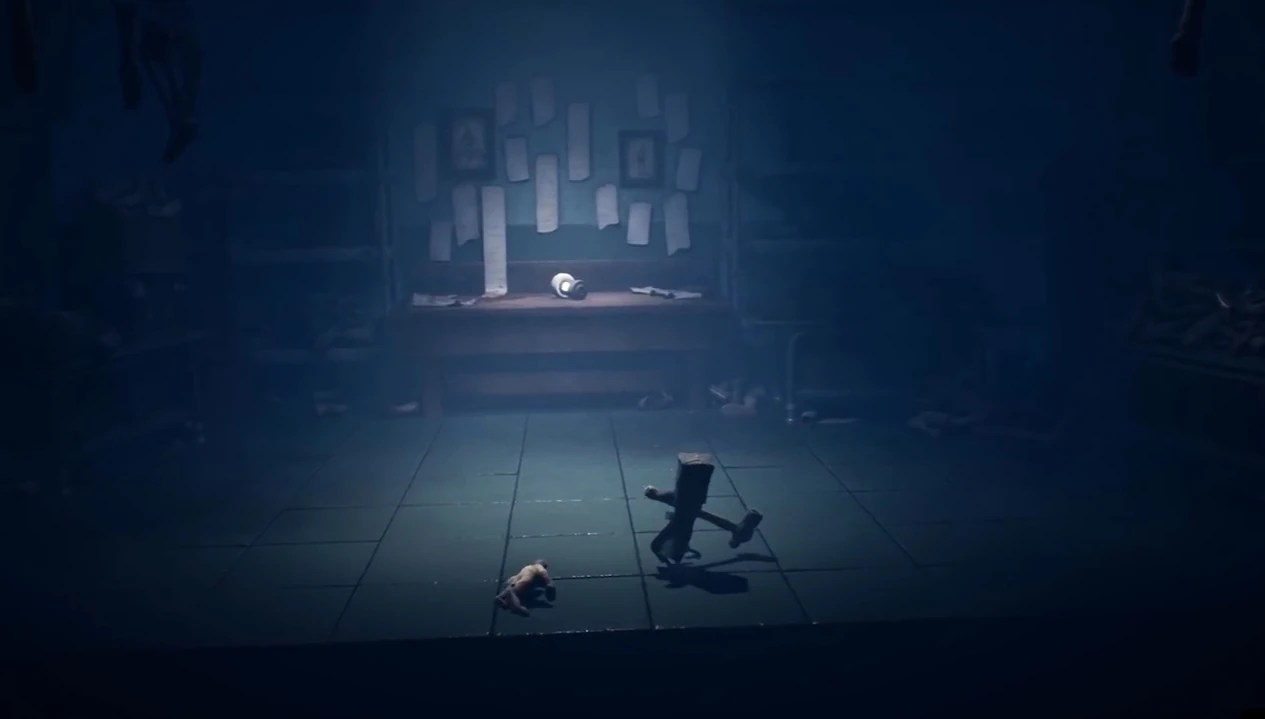
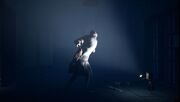
Mono fighting off against a Living Hand.
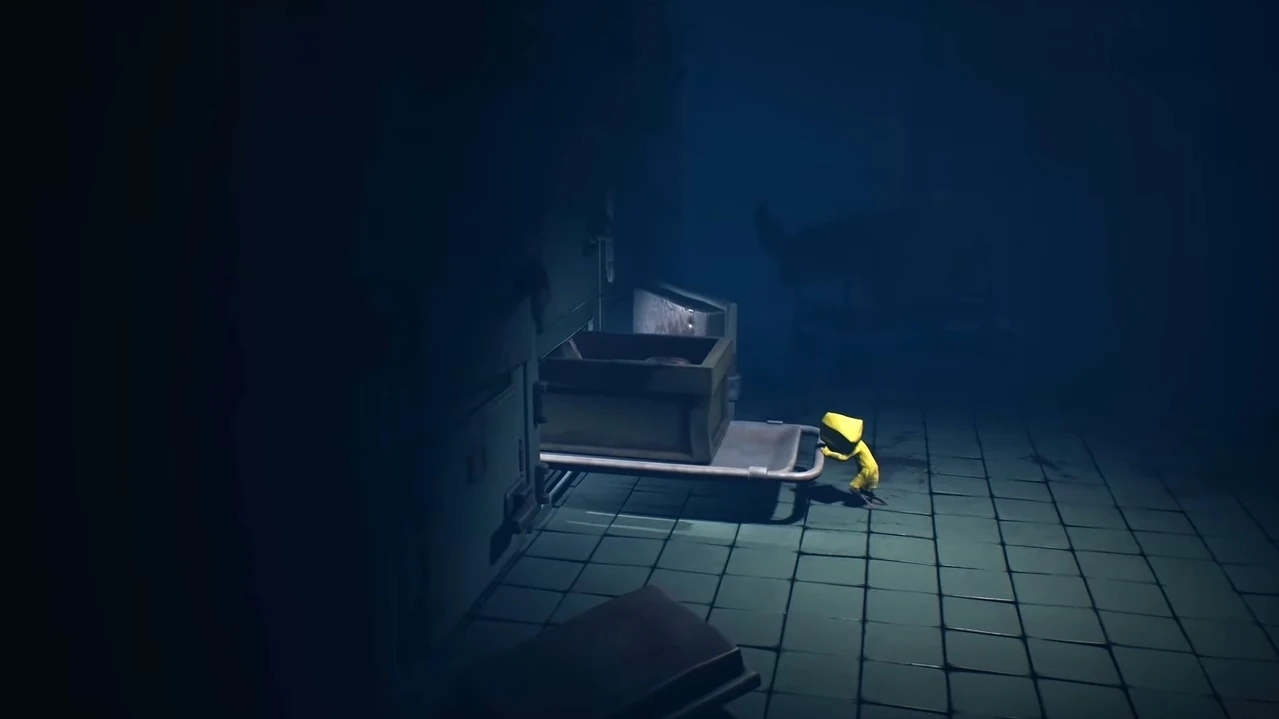
You'll land on a body bag in a corridor. Move backward and enter the room at the end of the corridor. You can hear the hand crawling through the ventilation system. Keep going left until the hand starts to fall out of the vents. Climb onto the table and climb onto the shelf, then jump down to proceed to the next area. You'll see the first fuse located on a table. However, the hand will still attempt to catch you. Grab the hammer in the middle of the room and attack the hand. After defeating the hand, climb up the table and grab the fuse. Drag the box away and then throw the fuse to break the bottom glass of the door and go back to the workshop. Six will be seen breaking some prosthetic fingers.
After Six stands up, go back to the main hall. Head to the left side of the second floor. Place the fuse on the power cable and the automatic door will open. Keep moving until you'll find yourself in a corridor. Head to the back of the corridor and Six will boost you up. Jump up and climb through the window of the bars to proceed to the next area.
Mono freezing a Patient in its own place.
In the next room, a Patient will stand in the entrance to the next area. Pull down the switch and the light will start to flicker. In some glimpse of seconds, the Patient will do some small movements, hinting that they will move in the dark but will freeze in the light. Once the light shuts down, the Patient will start to chase you. Aim your flashlight at it. Then, proceed through the entrance. The Patient will try to chase you, but will be frozen between the gates. Keep moving to the left and you'll arrive in a hallway. Head to the corridor with three Patients. Then enter the hole of the door at the end of the corridor.
Keep moving until you enter the ward. In the ward, a Patient will start to move. Aim your flashlight at it. However, another Patient will start to chase you, so aim your flashlight at the second Patient. Keep moving and sneak under the bed. You'll enter another ward. Make sure to not walk near the Patient with a porcelain mask as it will ambush you. So, aim your flashlight at said Patient. Another Patient will start to chase you, so aim at the second one. There'll be the third one at the end of the room. Make sure to aim at the nearest one to you. Then run and climb through the window at the end of the room. A Patient will try to catch you, but will be frozen under ceiling lights. Keep moving to the left and climb up a medical trolley, then climb onto the vent and sneak through the vents. You'll end up in a cell.

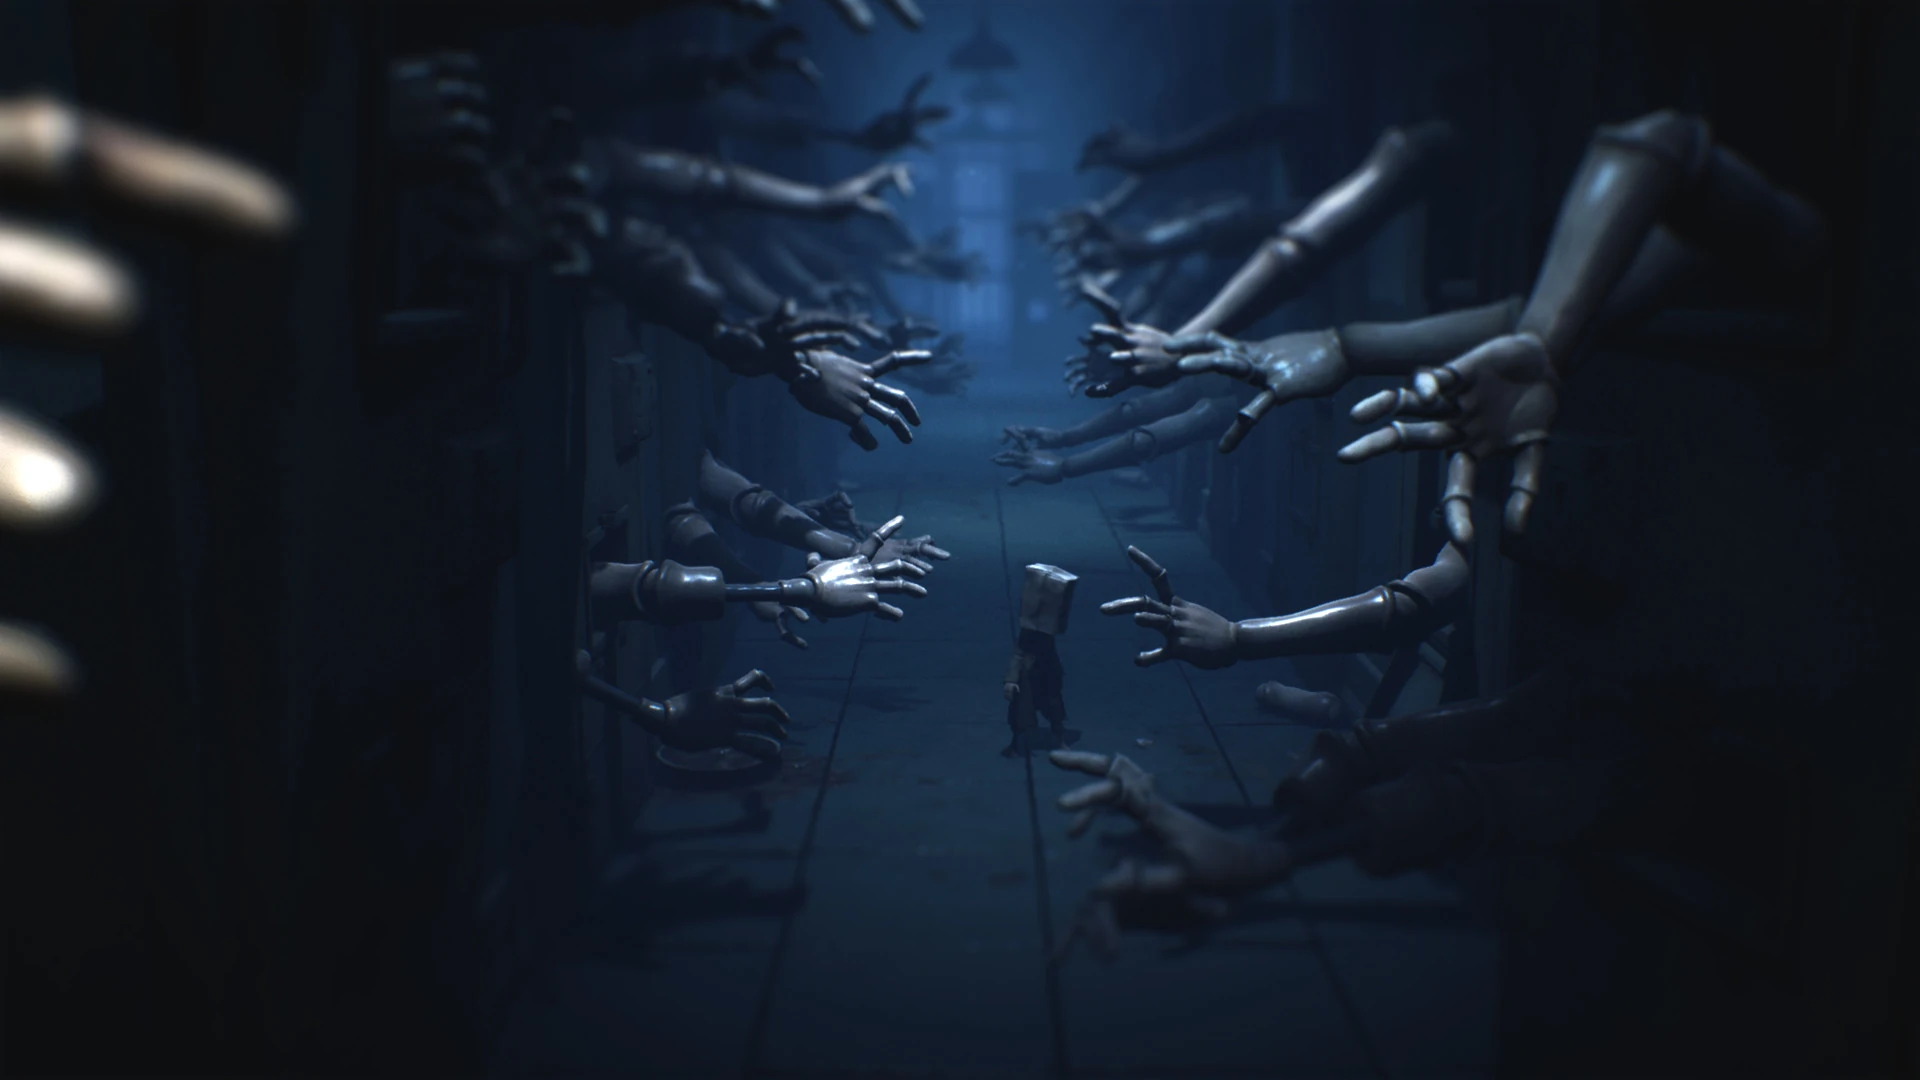
Patients' arms bursting through the doors to get Mono.
Leave the cell and walk down the hallway until several Patients' arms start to burst out of the doors. As it burst out of the left side, move to the right side and keep walking. Later, more Patient's arms burst out. Avoid every single one of them by walking in the opposite side of the arms. At the end of the hallway, a door will be broken down and Patients will start to crawl out and chase you. Keep running to the right. Another door will be broken down in the middle of the corridor, so keep running. A Patient will try to catch you from the front, so aim your flashlight at it. Run to the next room and slide through the bed. Be careful as the Patients can crawl under the bed, so keep moving until another Patient will corner you. Aim your flashlight at said Patient and climb up the drawers. Enter the window and proceed to the next room.
You'll enter the shower room. Pull down the switch to turn on the light for a better briefing of the room, although it's unnecessary to do so if you want to complete this segment faster. Grab a soap bar and throw it at a button to activate the door. You'll see a Patient strapped onto a wheelchair. Go back to the shower room and pull down the switch if you turned on the light. Go back to the next room and the Patient will start to stand up and chase you. While aiming your flashlight at it, keep moving to the switch. Pull it down before the Patient manages to catch you. Once the light is turned on again, the Patient will be frozen in place. Move to the room with the wheelchair and push it to the other side until it leans on the door. Climb onto the wheelchair then climb through the window to proceed to the next area.


Patients in the dark.
The next area will be very dark and will have a lot of Patients. Move forward until several Patients start to chase you. Make sure you are not cornered and also aim your flashlight at the nearest one. Keep moving to the right until you'll see an entrance that you're able to pass through. Sneak through the wooden boards and run quickly as the Patients' arm will start to burst through the boards. You'll enter the electric chair room that was actually in the corridor in the first place. Climb the metal stool in the back and pull down the lever. This will pass in an electrical current and cause the second fuse to burst out from its slot. Grab the fuse and throw it into the bars' hatch. Six will pull the hatch to get the fuse. She'll attach the fuse to the slot outside of the room, which will activate the cell doors and allow you exit the room. Six will grab the second fuse after you exit the room. Go back to the main hall and grab the first fuse. Go to the elevator power and both Mono and Six will put the two fuses together, powering the elevator. Pull down the switch and it will open the elevator. Go inside the elevator and you will enter into the depths of the Hospital.
After arriving at a hallway, keep moving forward to the end of the hallway. The left side will be blocked, so go to the right side and climb the rope through the bars. You'll enter the morgue. Keep moving forward until a door will start banging. Six will hold on that door while a hand will start attacking you. Grab the pipe and fight the hand. After hitting the hand twice, Six will let go of the door, releasing the second hand. While fighting the hands, she will try to pull the boards that block the entrance. It is recommended to defeat the damaged hand first. After defeating both hands, you must help her to pull the last board. Afterward, you can proceed to the next area.

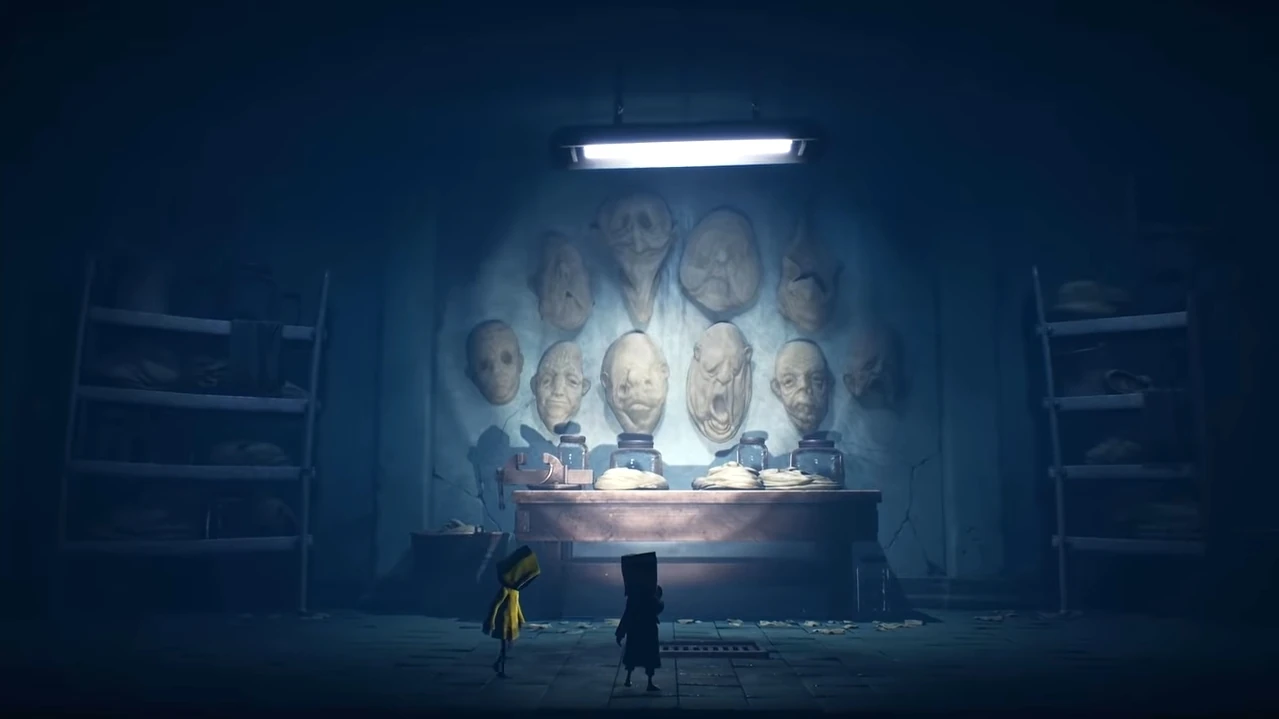
A room with masks made of real people's face hanging on the walls.
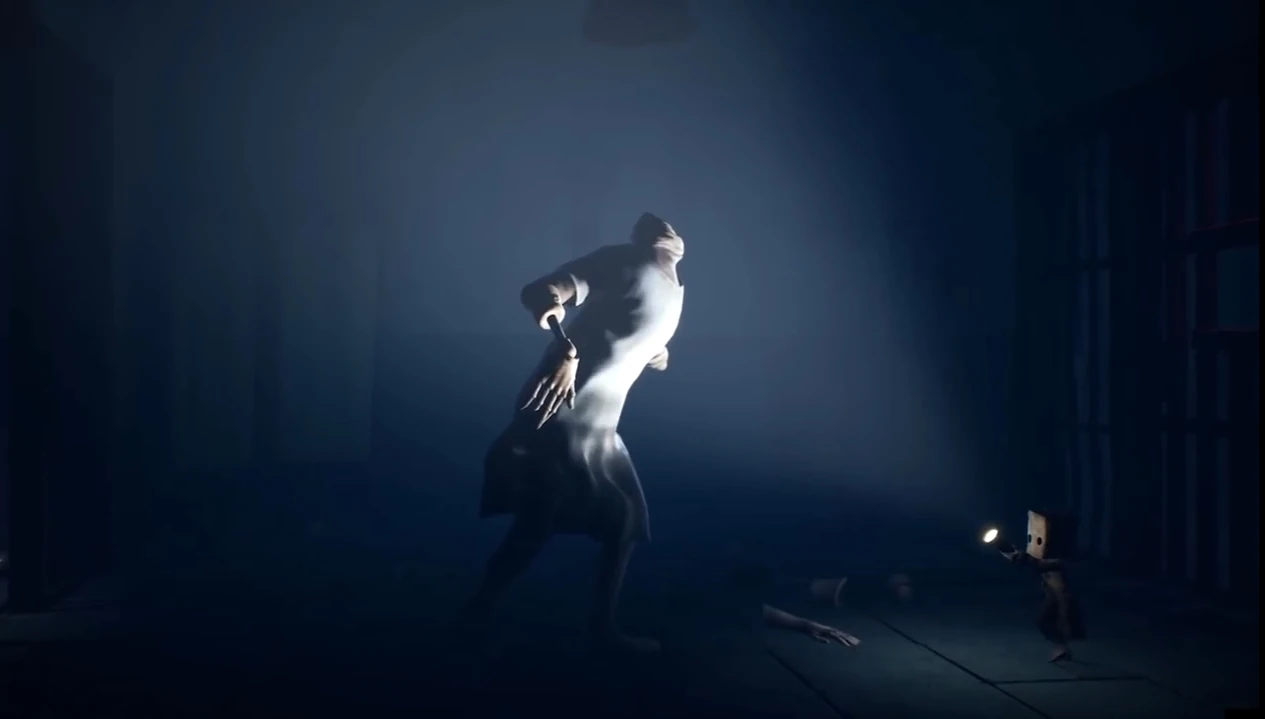
Mono and Six will enter a room with hanging masks on the wall which are actually made of real people's faces. Keep moving forward and you can see something big banging through a shelf. Sneak under the shelf and a new enemy, the Doctor, will start to look down to reveal himself to the players. After the Doctor crawls away, go right to the next area. The Doctor will try to repair a Patient on a table. Sneak between the boxes while observing the Doctor's pattern.
Enter the next room and hide under the beds, as the Doctor will come in. Sneak under the beds and Mono will need a throwable object to open the door. Go into the back while stay sneaky and grab one of the objects. Throw it to the button. This will alert the Doctor. Quickly hide under a bed in the next room with Six as the Doctor will check. After the Doctor goes away, climb the cabinets in the next room and enter the vent. Move along the vents while avoid the gaps that will lead the player to death.
Mono and Six working together to traverse the Hospital.
Jump down onto the next section while avoiding the broken floors. Later the player will arrive at the bottom floor. With the help of Six, enter to the other room alone with a morgue. Go to the right and pull the tray with a body in it. Jump up and pull down a morgue. Afterward go back to the right and pull a tray. Jump up the tray and climb up another tray above it. Hang onto the locker and jump down onto the table with sink. Do a jump onto the pulled morgue and climb up. Walk down onto a cupboard with a key on it. Go back to the previous room with Six's help again. Open the door and climb up the cabinet in the next room. Jump onto the shelf and do some parkour to reach the vent. Climb up and go through a vent to reach the next section.
The player will need a fuse while having to deal with the Doctor. Pay attention to his pattern while moving under the tables. Jump onto an opening with Six's boost. Climb up the ladder and jump down onto the lever to deactivate a Patient's life support. This will alert the Doctor, so hide under the shelf. While the Doctor focuses on that patient, go to the back of the previous room and pull a tray. Climb up onto a tray then enter a morgue with a fuse in it. Go back to the room you entered in and attach the fuse. However, this will alert the Doctor and trigger a long chase.

The Doctor pushes metal shelves onto Mono to crush him.
Run to the right as the Doctor will start pushing metal cabinets onto you. Move forward and jump onto the shelfs with a ram. Keep running as the Doctor will push multiple shelfs that will fall onto you like dominoes. Keep sneaking through the beds while the Doctor tries to crush you with them. Later, the player will see a big furnace. Enter the furnace and the Doctor will follow Mono inside. Go underneath and pull a bar to escape through the furnace's vent. After exiting the furnace, you can either incinerate the Doctor by pulling down the lever or leave him alone. Either way, jump onto the switch with Six's help and an elevator will descend. Enter the elevator to ascend up to finish the chapter.
Trivia
- One of the loose faces hung up on the wall heavily resembles that of the Janitor's face.
- This chapter and The Transmission chapter are the only chapters in the game that don't have any of the sections take place in the city area.
- In the room with the vending machine, there's a number board above the counter with the number being 000249. This most likely implies that there are a total of 249 patients in the Hospital.
- This is the only chapter in the game where Six isn't taken hostage. Despite this, Mono still has to traverse inside the hospital without Six at some times.
- According to the announcement trailer, the Hospital was initially not the third chapter of the game since Six can be seen wearing her gray cardigan in this chapter.
- The clock seen in the morgue displays numbers out of order, being 798 instead of 789.